Installing a commercial panoramic padel court is a precision engineering project, not a simple DIY assembly. Because full panoramic models eliminate the rear structural pillars to maximize spectator views, the entire system relies heavily on flawless foundation work, calculated wind-load engineering, and meticulous site planning. For club owners, investors, and distributors, mastering the installation process is the difference between running a highly profitable, FIP-compliant venue and facing costly structural liabilities.
Before breaking ground, the project must begin with rigorous legal compliance and environmental assessment to protect your investment.
Phase 0: Legal Compliance, Zoning & Permits
- Planning Permission & Zoning: Confirm your land is officially zoned for commercial sports or recreational facilities. Verify local setback regulations, floor area ratios, and property line restrictions before finalizing your court layout. Click here to understand your local law .
- Structural Engineering Certification: Because panoramic courts lack rear metal pillars, they rely entirely on the heavy-duty base and 12mm glass for stability. You must submit certified CAD structural mechanics calculations to municipal building departments, proving the framework can withstand local wind and snow loads. As a manufacturer, PP Courts provides these certified blueprints to streamline your approval process.
- Environmental & Acoustic Regulations: The percussive sound of rackets and ball rebounds can create friction in residential zones. Many municipalities, particularly in Europe and North America, require formal acoustic impact assessments and the potential integration of sound-absorbing barriers.
- Lighting & Light Pollution Approvals: Submit a professional Lux Distribution Diagram. You must prove that the asymmetric LED floodlights direct light strictly downward onto the playing surface, ensuring zero glare spillover into neighboring residential windows or active roadways.
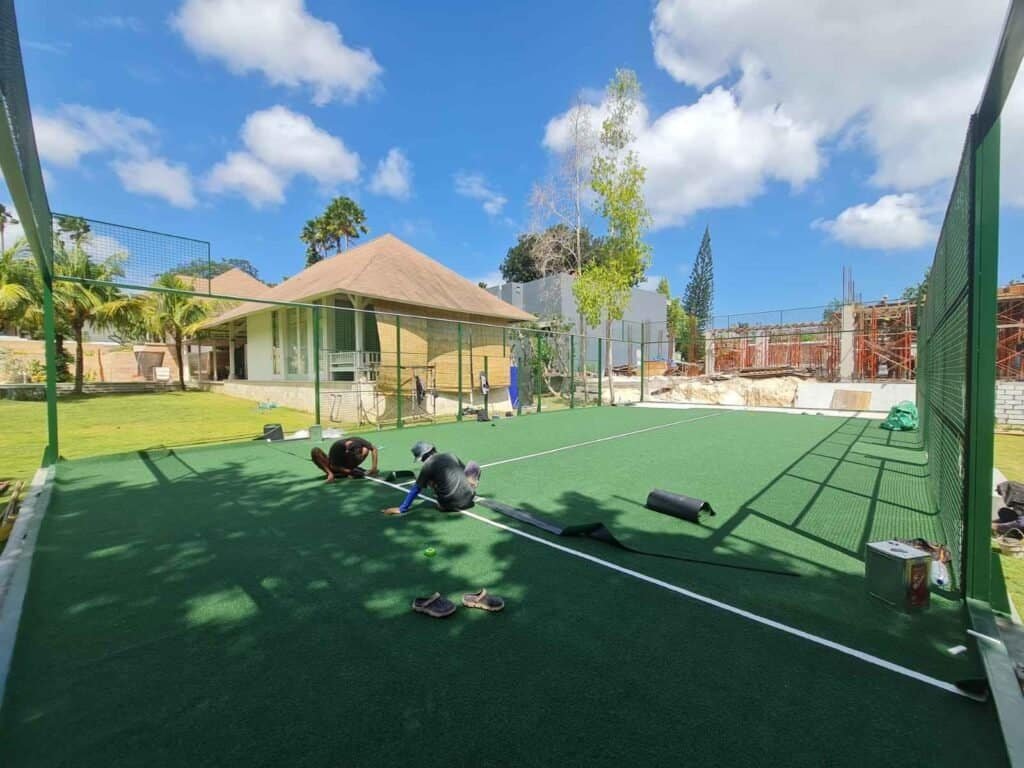
Phase 1: Site Assessment & Environmental Planning
- Court Application & Grade: Define the facility’s exact purpose. A casual recreational court requires different out-of-bounds safety clearances and lighting (Lux) levels compared to a premium commercial club or an FIP-sanctioned professional tournament venue.
- Space & Ceiling Height Requirements: For indoor padel courts, ceiling clearance is critical for the lob—a fundamental defensive shot. The absolute minimum height is 7 to 8 meters, though 9 meters or higher is strictly recommended for professional play. This vertical space must be completely free of HVAC ducts, hanging lights, or low structural beams.
- Climate & Geological Factors:
- Temperature & Humidity: Extreme temperature swings dictate the thermal expansion gaps required between the steel and glass during installation. High humidity directly impacts the curing time of the two-component polyurethane glue used for turf seams.
- Frost Line Depth: In freezing climates, foundation excavation must penetrate deeply below the local frost line. Failure to do so leads to frost heave, which will crack the concrete pad, misalign the heavy steel frame, and ultimately shatter the panoramic glass.
- Wind & Snow Load Specifications: The site assessment must account for maximum regional wind speeds (e.g., 120km/h+) and extreme snow accumulation to dictate the thickness of the concrete slab and the chemical anchoring requirements.
Phase 2: Foundation & Drainage Engineering
The structural integrity of a panoramic padel court relies entirely on the quality of its foundation. A substandard, uneven concrete slab will cause the massive glass panels to misalign and the steel frame to warp, leading to inevitable glass breakage.
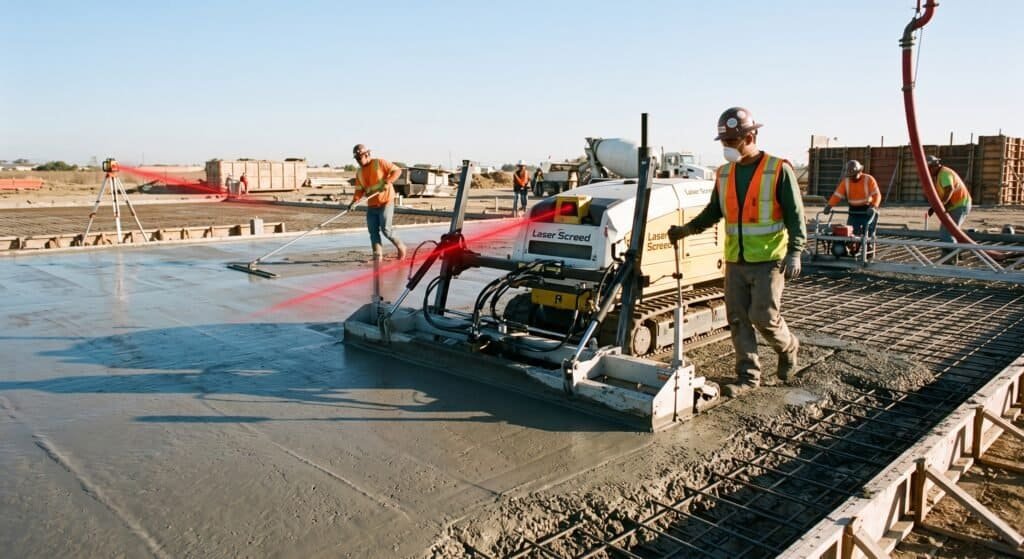
- Dimensions & Concrete Grade: A standard padel court measures 20m x 10m, but the foundation requires a minimum footprint of 21m x 11m to provide a 0.5m structural perimeter for anchoring. The slab must be constructed using C25 or C30 grade concrete with a double-layer, bi-directional steel rebar mesh to prevent cracking under dynamic loads.
- Excavation & Slab Depth: The concrete slab should typically be 15cm to 20cm thick. As assessed in Phase 1, the sub-base excavation must reach below the local frost line in cold climates to prevent frost heave from lifting and fracturing the foundation.
- Water Flow & Drainage Systems: For outdoor installations, standing water will ruin the artificial turf and rust the bottom hardware.
- The Slope: The concrete slab must be poured with a laser-leveled 0.5% to 1% micro-slope. This is usually designed as a “turtle back” (sloping from the center outwards) or a single-direction slope to guide rainwater away.
- Peripheral Drainage: Install concealed drainage trenches around the outer perimeter of the 21x11m slab, connecting directly to the municipal stormwater system.
Phase 3: Structural Frame Assembly & Anchorage
With a perfectly cured and leveled foundation, the metal skeleton of the court is erected. For panoramic courts, the base and corner pillars must absorb the entire wind load and player impact, as there are no rear vertical supports.
- Steel Grade & Anti-Corrosion: PP Courts utilizes heavy-duty, hot-dipped galvanized steel profiles. Unlike cheap zinc-sprayed alternatives, hot-dipped galvanization provides a deeply bonded barrier that prevents rust even in high-humidity or coastal salt-air environments.
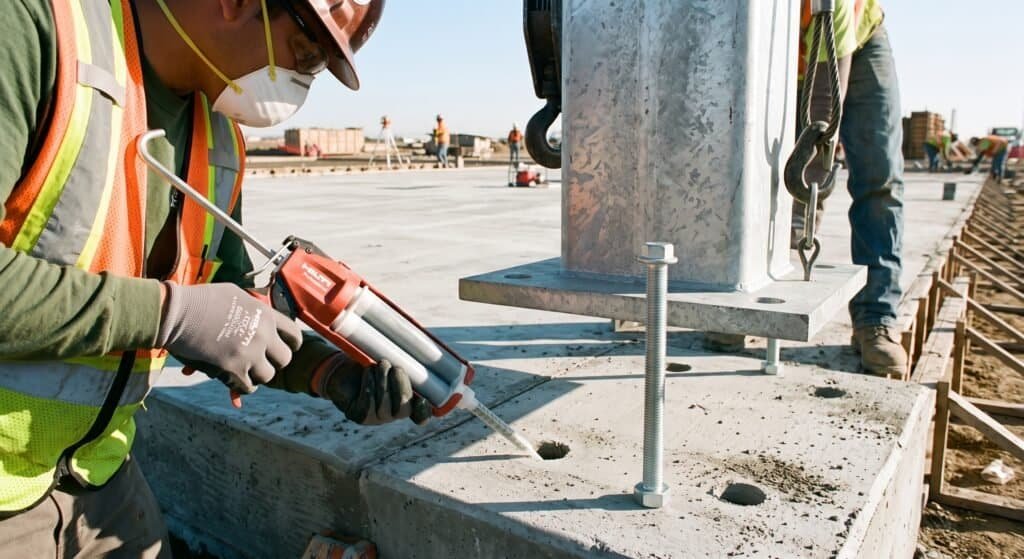
- Connection to Foundation (The Anchoring Strategy): Never use standard mechanical expansion bolts for a commercial court—they will loosen under continuous vibration. The steel base plates must be secured to the concrete using high-strength M12 or M16 Chemical Anchors. Chemical resin completely fills the drilled hole, fusing the threaded rod directly to the concrete for immovable, vibration-proof stability.
- Assembly Sequence:
- Align and chemically anchor the bottom guide rails and corner load-bearing pillars.
- Connect the upper horizontal beams to lock the rigid perimeter.
- Install the electro-welded wire mesh panels on the sides.
- Erect and secure the lighting poles (preparing them for the 8 x 200W asymmetric LED fixtures).
Phase 4: 12mm Glass Installation
This is the most critical and hazardous phase of the installation. A full panoramic back wall is essentially a massive, transparent sail that must flex safely without shattering.
- Glass Specifications: Full panoramic courts strictly require 12mm CE/SGCC certified tempered glass. Standard 10mm glass is structurally insufficient for a pillar-less design and poses a severe safety hazard to players.
- Placement & Handling: These heavy panels cannot be maneuvered manually. Installers must use a specialized vacuum suction lifter attached to a crane or forklift to vertically position the glass with millimeter precision. The bottom edge of the glass must rest on high-density rubber load-bearing blocks, never directly on the steel or concrete.
- Flexible Connection System (Zero Hard Contact):
- Isolation: There must be absolute zero metal-to-glass contact. Every connection point requires thick EPDM or Neoprene rubber gaskets to isolate the glass from the steel brackets and countersunk stainless steel bolts.
- Thermal Expansion Gaps: Installers must use torque wrenches to secure the fasteners and leave a deliberate 2-3mm gap between adjacent glass panels. If the panels are installed flush against each other, the thermal expansion of the glass during a hot afternoon will cause them to crush each other and spontaneously explode.
Phase 5: Artificial Turf Installation & Sand Infill
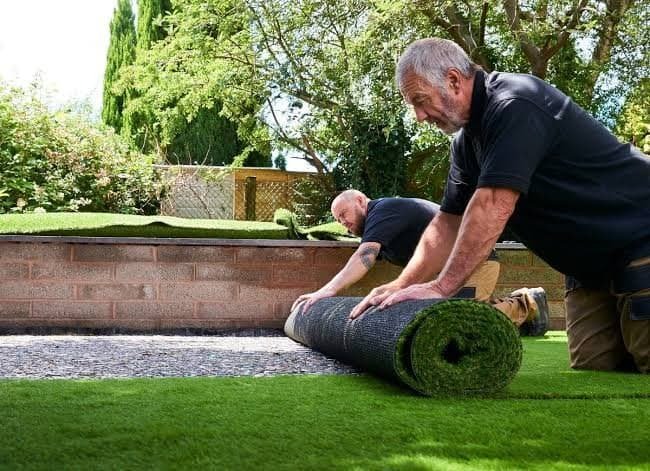
The playing surface is the most tactile part of the court and dictates the ball bounce, player grip, and overall club reputation. High-quality texturized (curly) turf requires meticulous installation to ensure FIP-compliant performance.
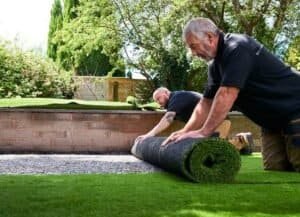
- Turf Unrolling & Acclimatization: Artificial grass rolls arrive tightly packed. Before any cutting or gluing, the rolls must be unrolled and laid flat on the concrete slab for at least 24 hours. This allows the synthetic fibers to acclimate to the ambient temperature and releases the memory tension from packaging, preventing future wrinkling.
- Laying & Seaming (The Invisible Bond):
- The turf rolls are aligned, and the excess edges are trimmed.
- A heavy-duty seaming tape is placed under the joints, and a two-component polyurethane (PU) glue is applied. PU glue is mandatory because it remains flexible and impervious to rain once cured.
- Line Integration: The 50mm white functional playing lines are not painted; they are precisely cut and embedded into the green turf using the same taping and gluing process for permanent durability.
- Silica Sand Infill: FIP standards require a specific ball bounce that turf alone cannot provide. Installers must evenly distribute 0.2 to 0.8mm kiln-dried, rounded silica sand (approximately 8-15kg per square meter, depending on the turf type). A specialized mechanical rotary brush is used to push the sand deep into the base of the turf fibers, locking the carpet in place and ensuring a consistent, fast playing surface.
Phase 6: Common Pitfalls & Troubleshooting
Even with premium materials from PP Courts, contractor errors during installation can ruin a project. Here is how to avoid the most expensive installation mistakes:
- Uneven Foundation (The Glass Killer): If the concrete slab is not laser-leveled, the metal base will sit unevenly. When the heavy 12mm glass is bolted to a twisted frame, the torsional stress will eventually cause the glass to spontaneously explode. Solution: Any foundation deviations exceeding 3mm over 3 meters must be corrected with self-leveling concrete compounds before erecting the frame.
- Weather Disruptions:
- Wind: Never attempt to use a crane to lift 3-meter glass panels if wind speeds exceed Level 4 (approx. 20-28 km/h). The glass acts as a sail and can easily cause fatal accidents or shatter on impact.
- Rain: The two-component PU turf glue will fail to cure if exposed to moisture before setting. Turf must only be installed during dry weather windows.
- Galvanic Corrosion: When stainless steel bolts come into direct contact with galvanized steel frames in humid environments, an electrochemical reaction occurs, accelerating rust. Solution: Always ensure nylon washers or rubber gaskets isolate different metal types to prevent galvanic corrosion.
Phase 7: Long-Term Maintenance & Care
(Image Suggestion: Facility staff using a wide push-broom to redistribute sand, or a technician using a torque wrench on glass fasteners)
A panoramic padel court is a heavy-duty asset. To maximize its lifespan and maintain a premium experience for your club members, implement a strict preventative maintenance schedule.
- Turf Maintenance & Sand Redistribution:
- Weekly Brushing: Use a wide push-broom or mechanical brush to comb the turf against the grain. This prevents the fibers from flattening (compaction) and keeps the silica sand evenly distributed.
- Quarterly Top-Ups: High-traffic zones—like the baseline, service areas, and the net—will lose sand over time. Top up these areas to prevent the turf fibers from wearing out prematurely and to maintain optimal FIP bounce dynamics. Remove all organic debris (leaves, twigs) immediately, as they can rot, clog the drainage, and breed moss.
- Glass & Structural Fastener Checks:
- Monthly Torque Checks: Seasonal temperature changes cause the steel frame and glass to expand and contract. Once a month, use a torque wrench to check the countersunk screws on the glass panels and the chemical anchors at the base.
- Gasket Inspection: Ensure the neoprene rubber gaskets are not cracking or shifting out of place.
- Cleaning: Clean the glass regularly using non-abrasive, professional window squeegees. Never use acidic or alkaline cleaners that could drip and degrade the rubber gaskets or metal coatings.
- Metal Frame & Hardware Upkeep:
- Even hot-dipped galvanized steel can rust if deeply gouged by heavy equipment. Immediately touch up any deep scratches with a commercial-grade cold zinc spray.
- Lubricate the hinges and latches on the court access doors every 6 months to prevent squeaking and jamming.
- LED Lighting System:
- Wipe down the lenses of the asymmetric LED floodlights quarterly. Dust and pollen accumulation can significantly reduce the Lux levels on the court.
- Inspect waterproof junction boxes annually, especially before heavy rainy seasons, to prevent electrical shorts.
Ready to Build Your Premium Padel Facility?
Installing a commercial padel court requires precision engineering, premium materials, and a trusted manufacturing partner. By sourcing directly from PP Courts, you bypass trading companies to secure factory-direct pricing, guaranteed structural integrity, and dedicated logistics support.
Whether you are outfitting a new indoor sports club, expanding an outdoor recreational facility, or looking to distribute high-quality courts in your region, our export procurement team is here to help. We provide complete structural blueprints, CAD layouts, and container loading optimizations for every project.
Partner directly with the source today. Contact us for specific technical details, custom OEM configurations, or to request our latest wholesale FOB price list.